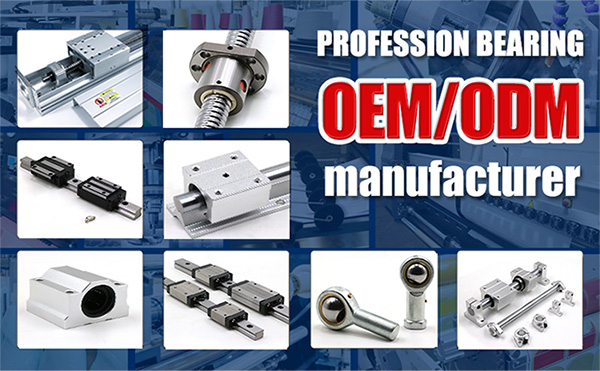
Ball linear guides achieve high-precision, low-friction linear motion through the recirculating rolling of balls between the rail and the carriage. They perform core functions of positioning, support, and transmission, and are fundamental components for achieving precision and high-speed positioning. They are widely used in CNC machine tools, automation equipment, semiconductor manufacturing, robotics, medical devices, and precision instruments.

The parallelism and flatness of ball linear guides directly affect the operational stability and machining accuracy of equipment. If installation deviations exceed allowable limits, they can lead to accelerated wear, motion binding, or increased positioning errors. To avoid such issues, standardized installation and adjustment procedures must be adopted to ensure that the geometric accuracy of the guides meets design requirements. The key methods are as follows:
First, select one guide rail as the reference rail. Use a dial indicator or micrometer on a precision surface plate to align its side (reference surface), ensuring straightness along the entire length. Once aligned, securely fasten the reference guide rail. This step forms the foundation of the system’s overall accuracy.
When machining the base, design and precision-machine vertical and horizontal datum surfaces for guide rail installation. During assembly, the guide rail should be firmly seated against these datum surfaces. After preliminary tightening, insert locating dowel pins to accurately lock the position and prevent displacement during subsequent operation.
Mount the worktable or carriage assembly onto the fixed reference guide rail. Using this assembly as a moving reference, push the second guide rail into position and preliminarily secure its carriage. This method effectively compensates for cumulative installation errors.
Before installing the guide rails, use a precision level or contact height gauge to measure and confirm that the flatness of the base mounting surface meets specifications. This is the basis for ensuring that the two guide rails are coplanar (flatness) and maintain proper straightness.

After alignment, tighten the guide rail clamps or bolts using a step-by-step, cross-pattern sequence. Apply the specified torque in 2–3 stages to avoid excessive localized stress that could deform the guide rail and compromise the adjusted parallelism and straightness.
After all fasteners are tightened, recheck the parallelism with dial indicators. Use high-precision instruments such as laser interferometers to measure full-stroke straightness and positioning accuracy. If necessary, perform a no-load run-in to stabilize accuracy and relieve installation stresses.
High-precision installation of ball linear guides is critical to stable equipment operation and machining quality. From reference guide alignment to staged bolt tightening, every step must be precisely controlled to ensure parallelism and flatness. A scientific installation process combined with dynamic accuracy verification provides reliable performance for CNC machine tools, robots, and other high-precision equipment.
